How to Run a Local AI on Telegram with Ollama & Moltbot (Full Setup Guide)


Do you want to chat with a powerful AI model running entirely on your own computer, but through the convenience of the Telegram app? In this guide, I’ll walk you through setting up Ollama and Moltbot (clawdbot) to create a private, secure, and free AI chatbot.
We will use the Qwen3:8B model, which offers a perfect balance of intelligence and speed for most computers.
📺 Video Tutorial
Prefer watching over reading? Check out my step-by-step video guide below:
Prerequisites
- A Windows PC (The commands below use PowerShell).
- A Telegram account.
Step 1: Install Ollama and Download the Model
First, we need the "brain" for our AI. We are using Ollama because it is the easiest way to run LLMs locally.
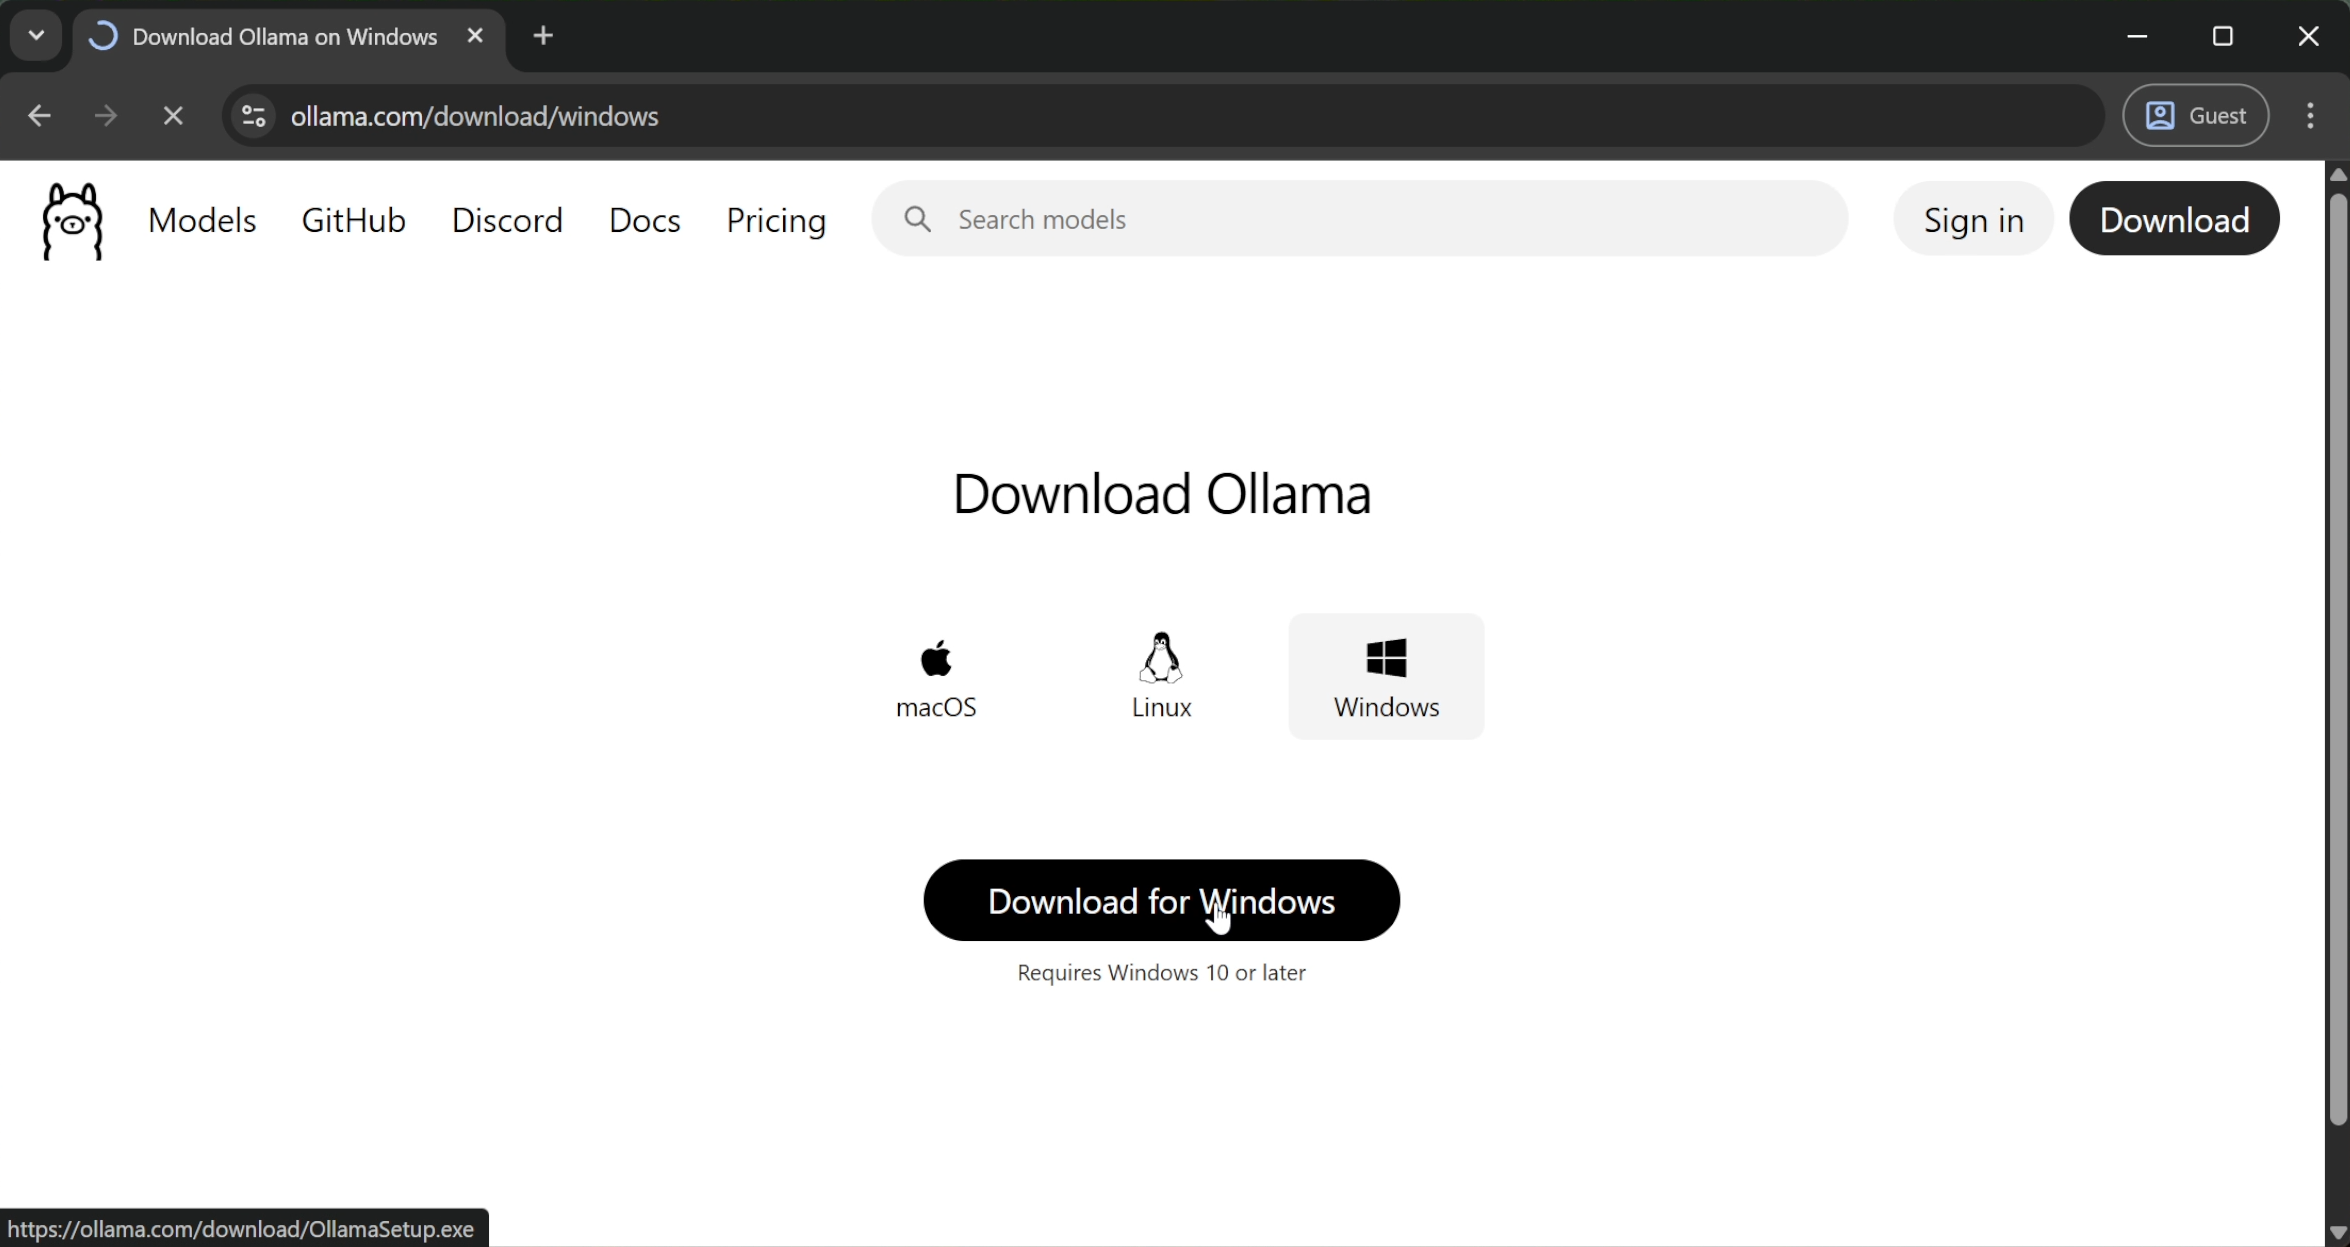
- Go to the Ollama Official Website.
- Download the setup file and install it.
- Once installed, you will see the Ollama icon in your system tray.
Next, we need to download a specific model. Open your Command Prompt or Terminal and run:
ollama run qwen3:8b
Why did I choose Qwen3:8b? I selected the 8-billion parameter version of Qwen3 because it is the "Goldilocks" model. It is smart enough to handle complex logic but lightweight enough to run smoothly on consumer hardware without lagging your system.
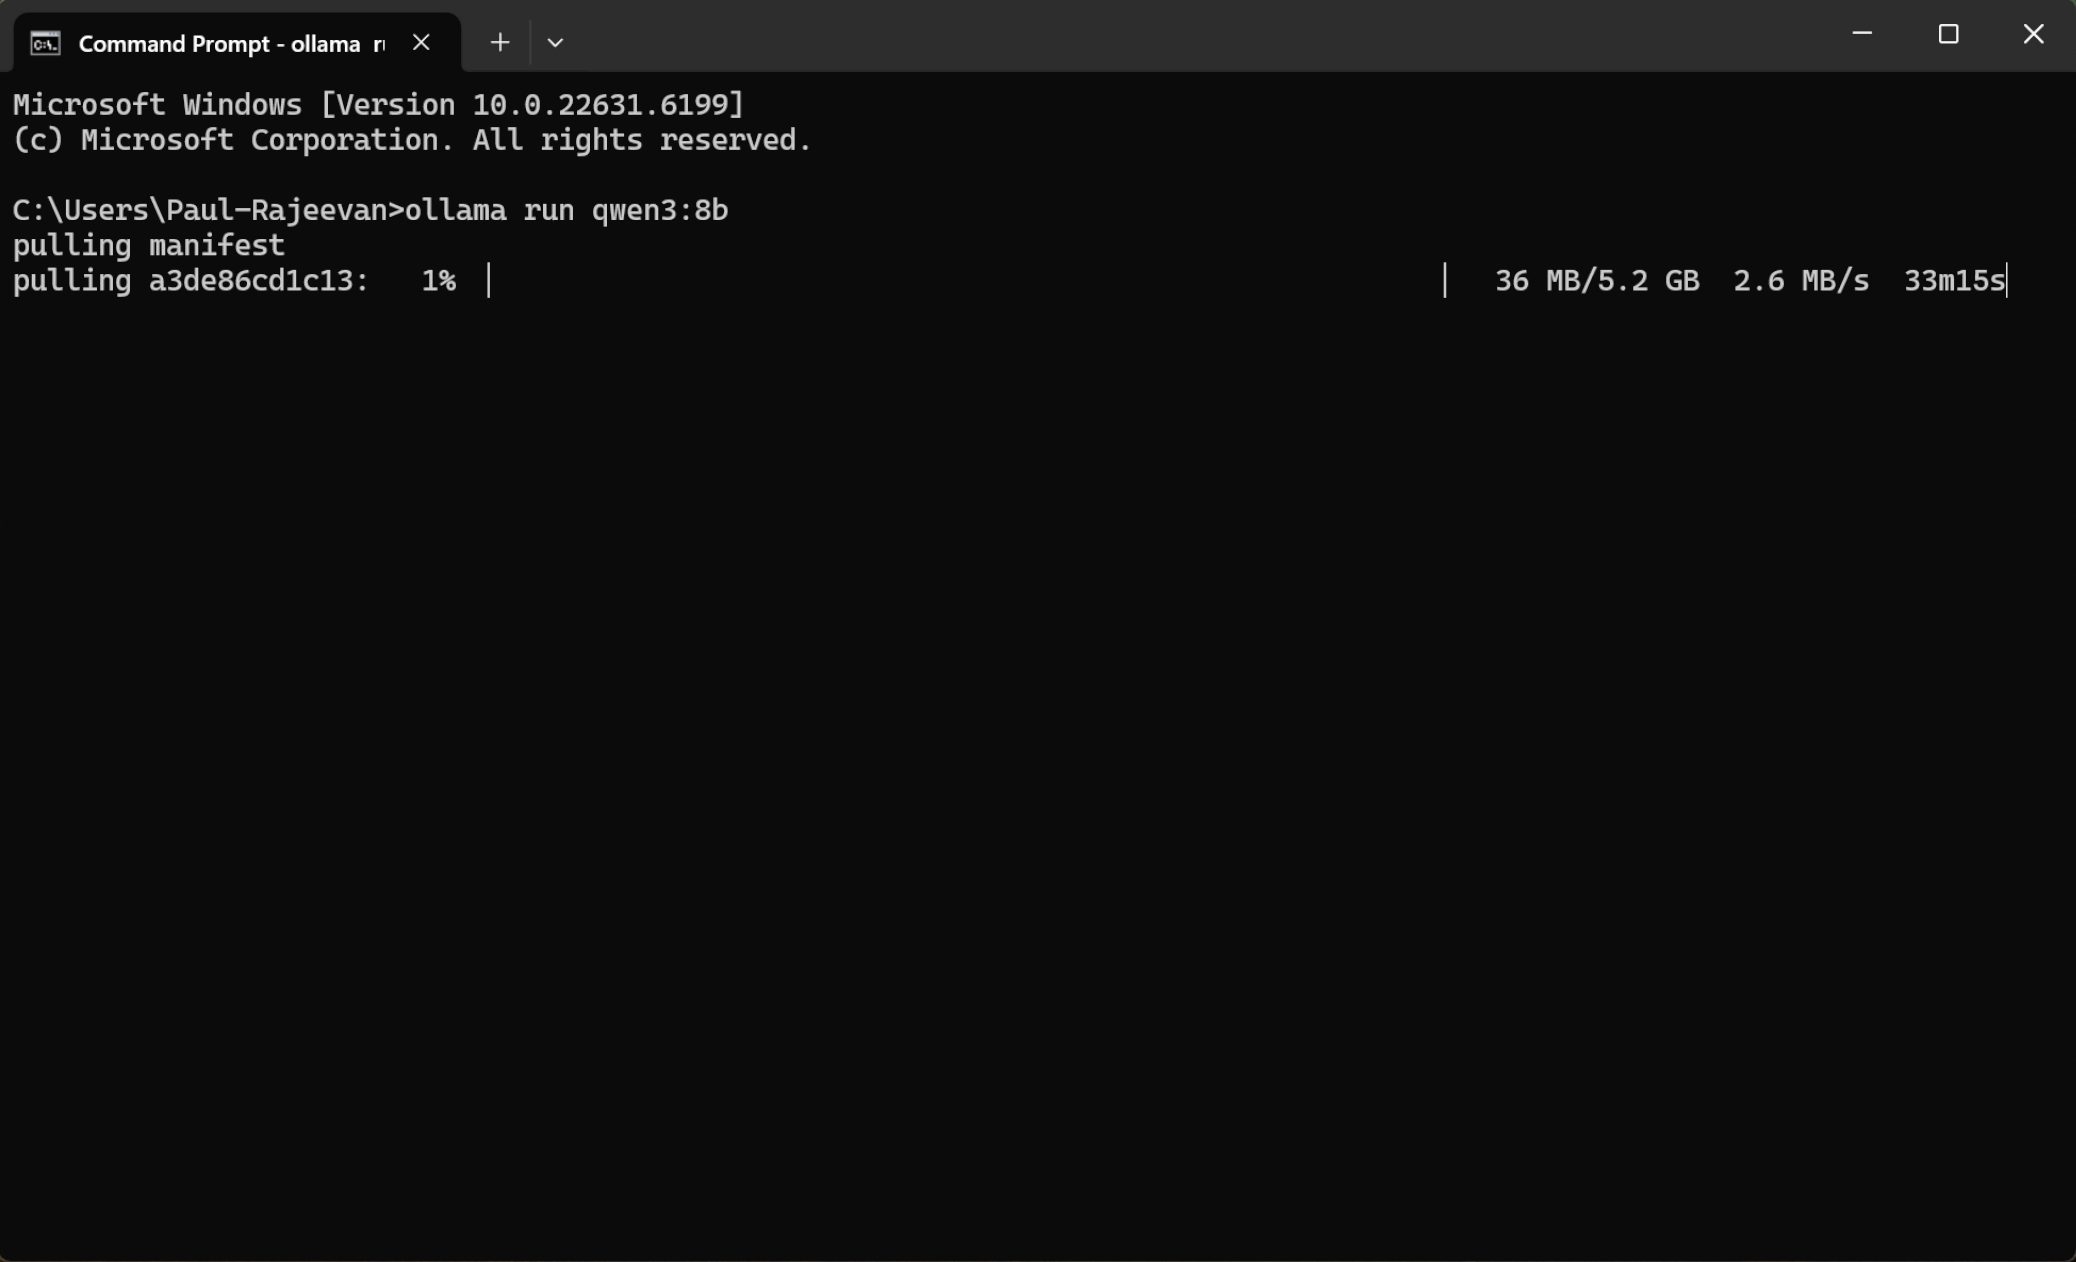
Wait for the download to finish. Once you see the prompt, your AI is ready.
Step 2: Install Moltbot
Now we need the bridge between your computer and Telegram. We will use Moltbot.
- Go to the Moltbot Official Site.
- Copy the installation command.
- Paste it into your PowerShell terminal:
iwr -useb https://molt.bot/install.ps1 | iex
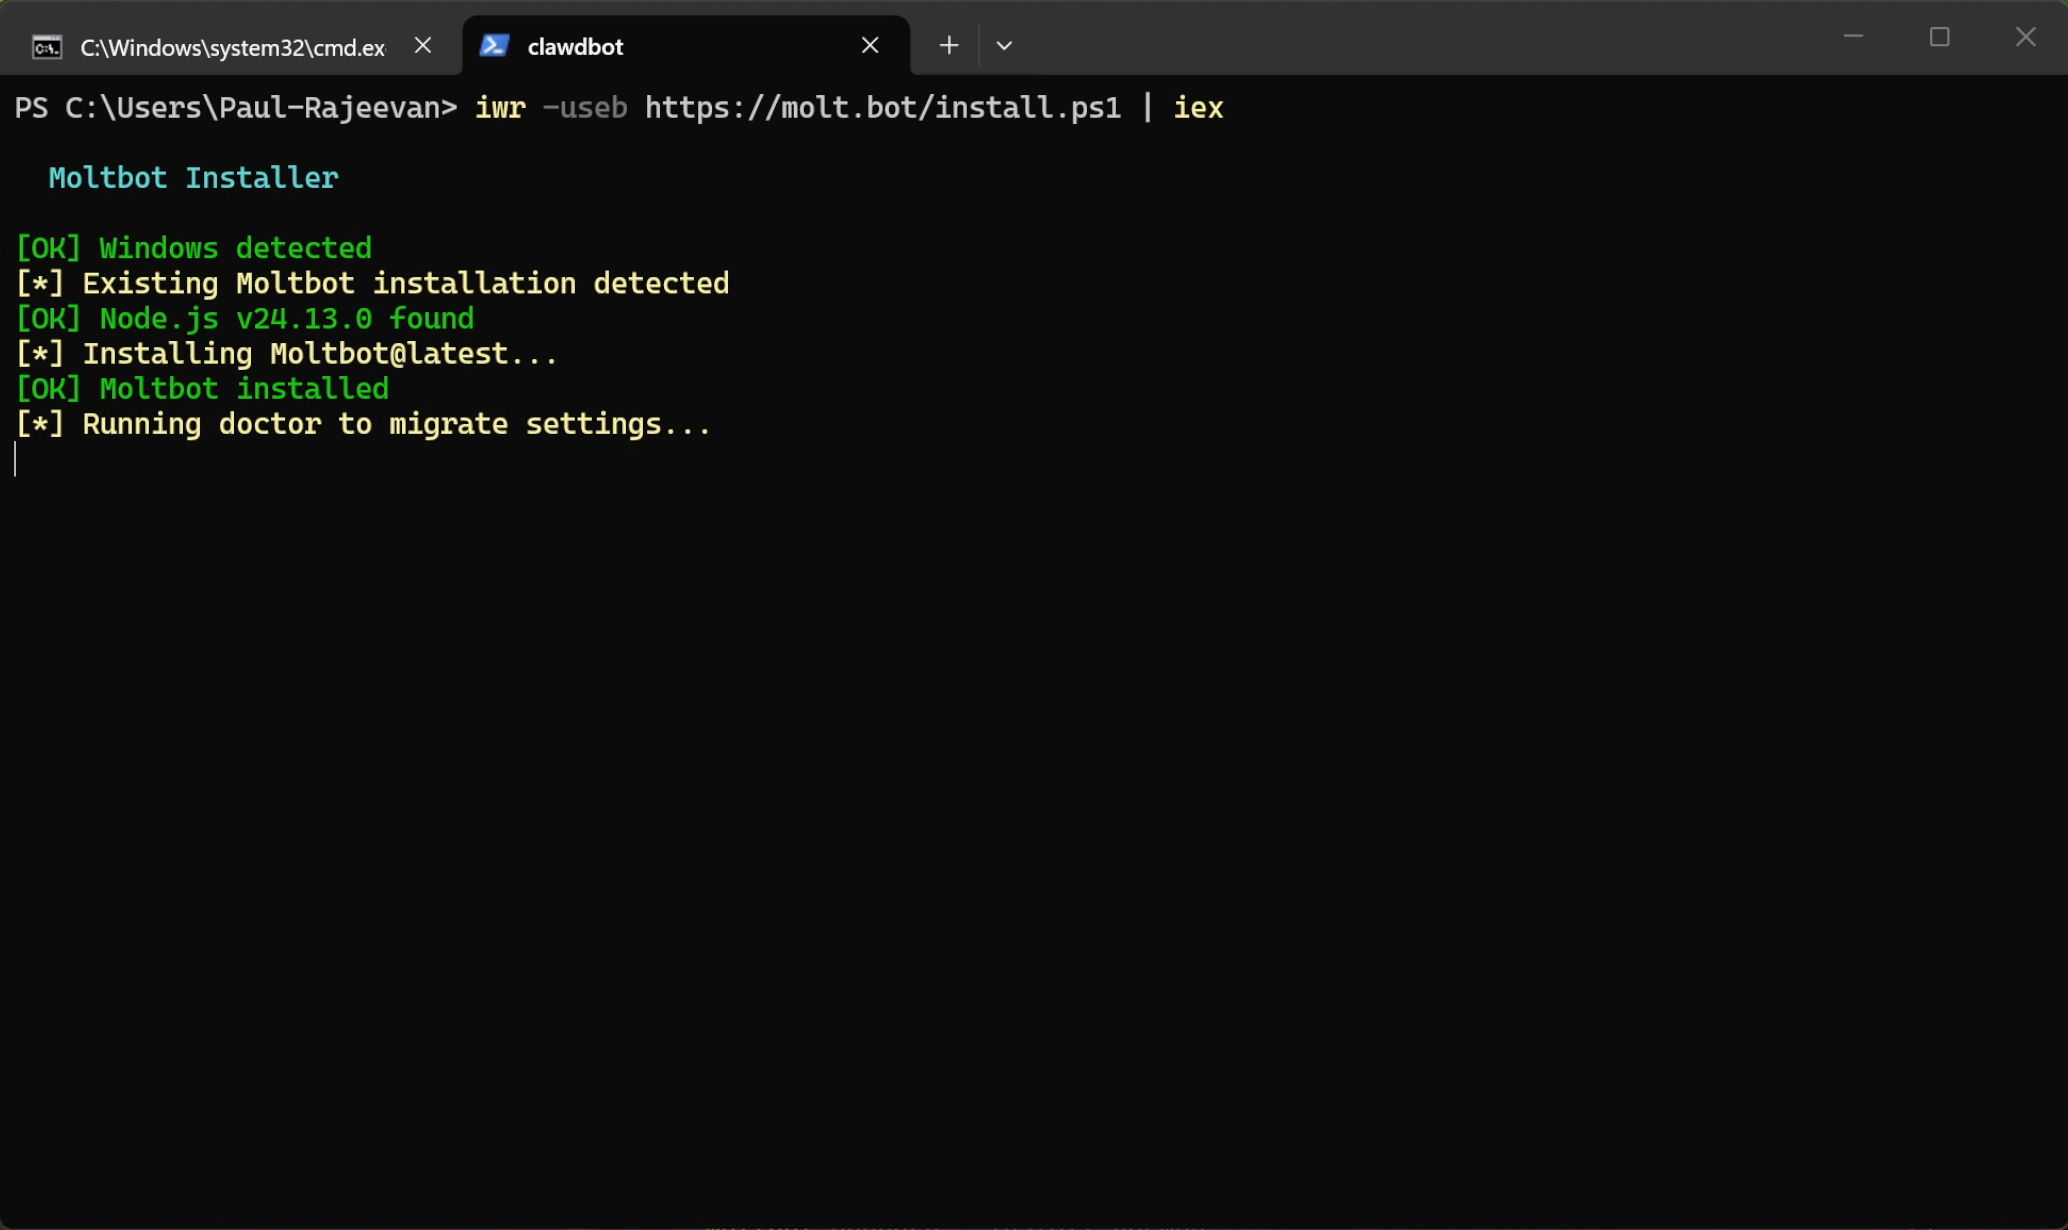
The installer will run and automatically start the onboarding process.
Step 3: Configure the Gateway (Onboarding)
The terminal will start asking you questions to set up the bot. Follow these answers carefully:
- Warning: "I understand this is powerful and inherently risky." -> Type Yes
- Onboarding Mode: Select Manual.
- Why? We want full control over exactly what gets installed to keep the setup clean.
- What do you want to set up?: Select Local Gateway.
- Why? We are turning your specific computer into the server rather than connecting to a cloud cluster.
- Workspace Directory: Press Enter (Default).
- Model/Auth Provider: Select Skip for now.
- Why? We are using our local Ollama model, not a paid API key.
- Filter Model: Select All Providers.
- Default Model: Select Keep Current.
Network Settings
- Gateway Port: 18789 (Default).
- Gateway Bind: Select Loopback.
- Why? This ensures the bot only listens to commands from this machine. It prevents outside access from the open internet, which is a key security measure.
- Gateway Auth: Off (Since we are on Loopback).
- Tailscale Exposure: Select Off.
- Why? We want a direct connection. We don't need a VPN mesh network for this simple setup.

Step 4: Connect Telegram
The installer will ask: Configure chat channels now? -> Type Yes.
- Select Telegram.
- It will ask for a Bot Token.
To get the token:
- Open Telegram and search for @BotFather.
- Click Start -> Click New Bot.
- Give your bot a Name and a Username.
- BotFather will generate an API Token. Copy this token.
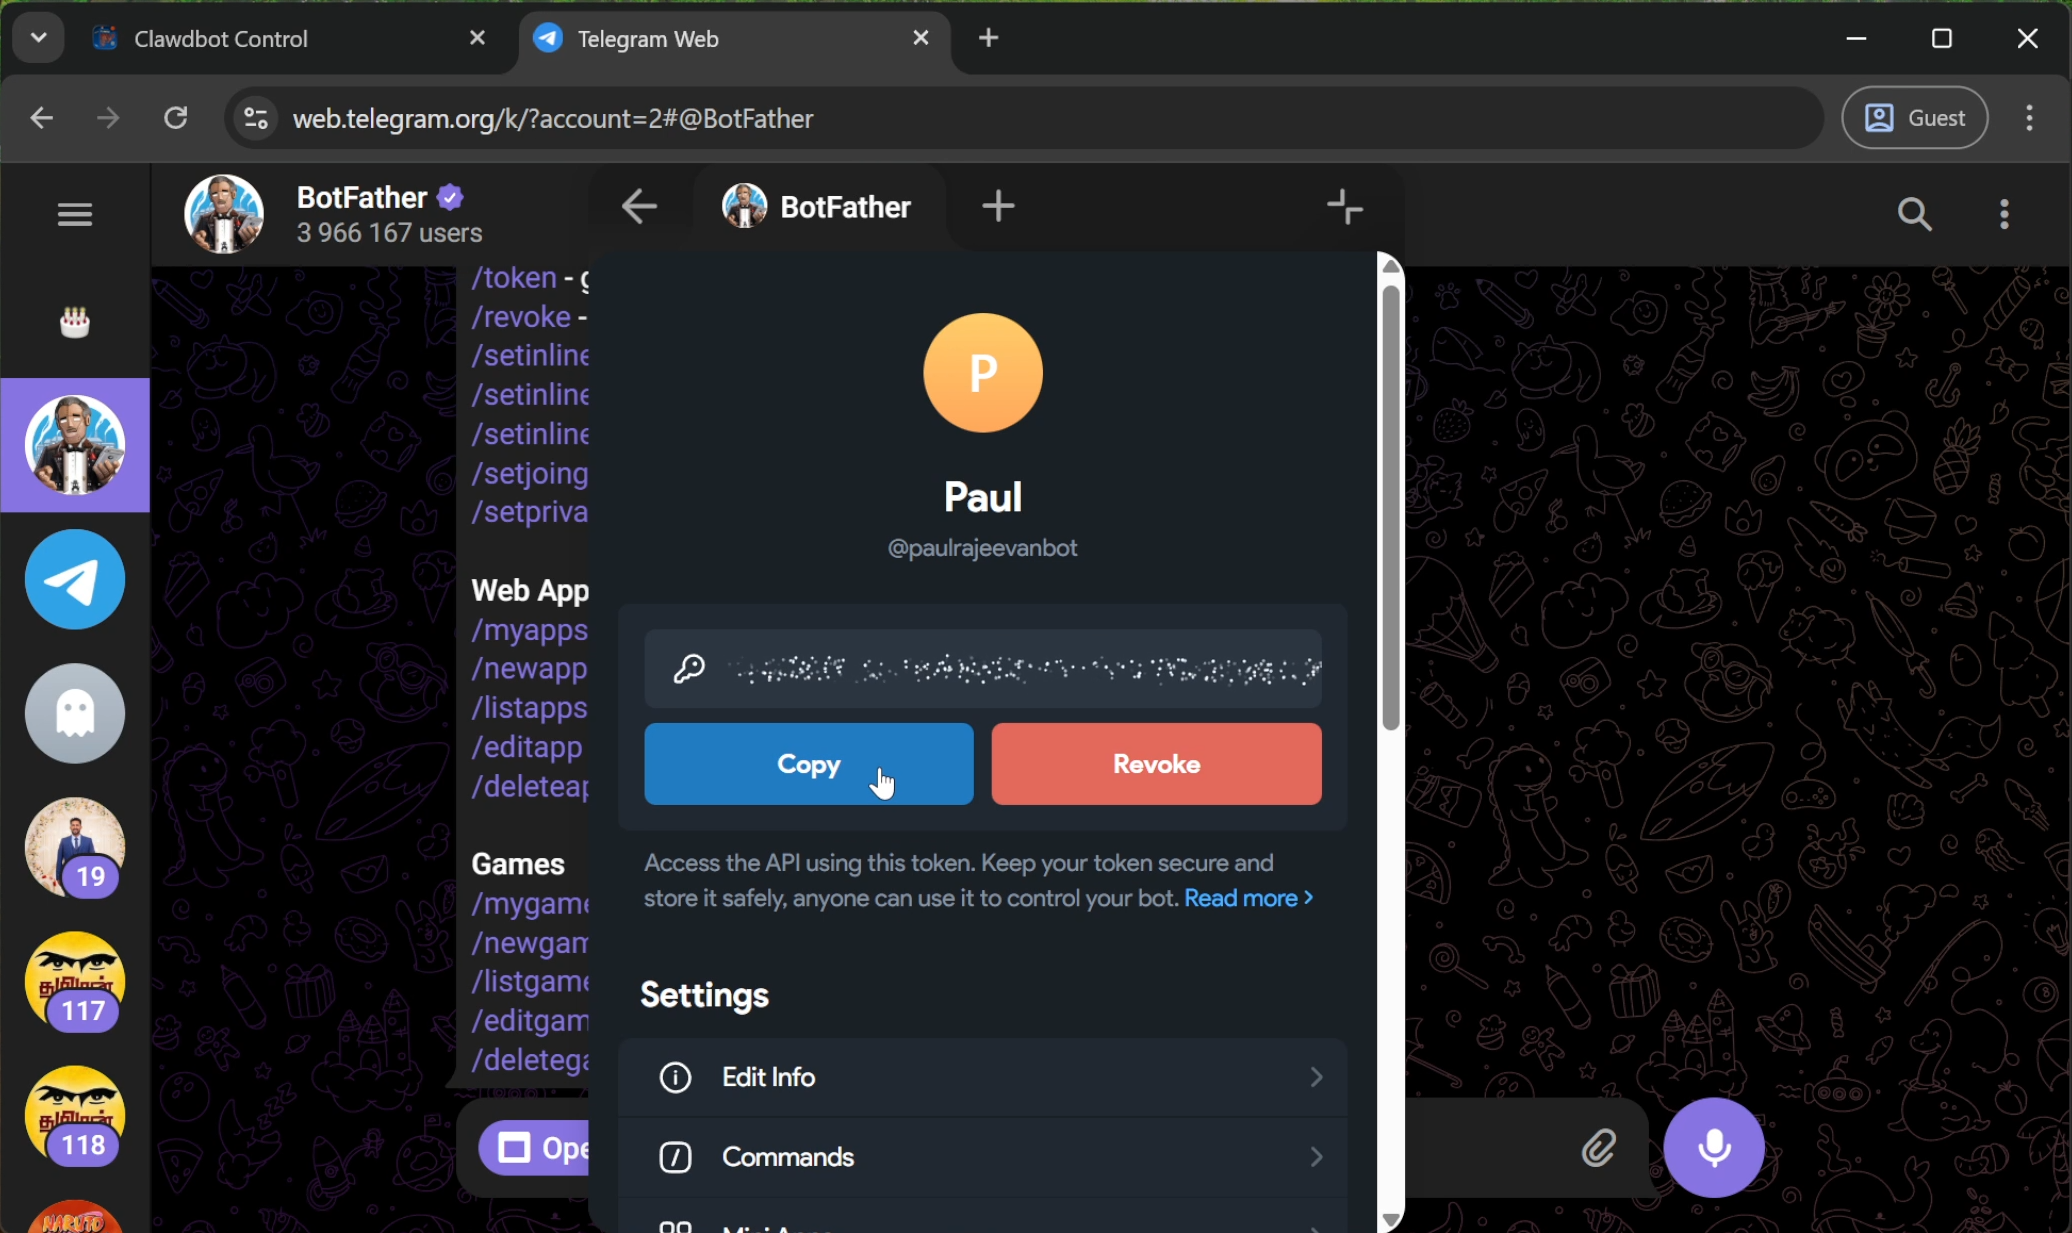
Go back to your terminal, paste the token, and press Enter.
Step 5: Security & Access Control
You don't want strangers using your computer's GPU power!
- Configure DM access policies now? -> Type Yes.
- Telegram DM Policy: Select Allowlist.
- Telegram allowfrom: It will ask for your ID.
To get your ID:
- Open Telegram and search for UserInfoBot.
- Click Start.
- Copy the numeric ID it sends you.
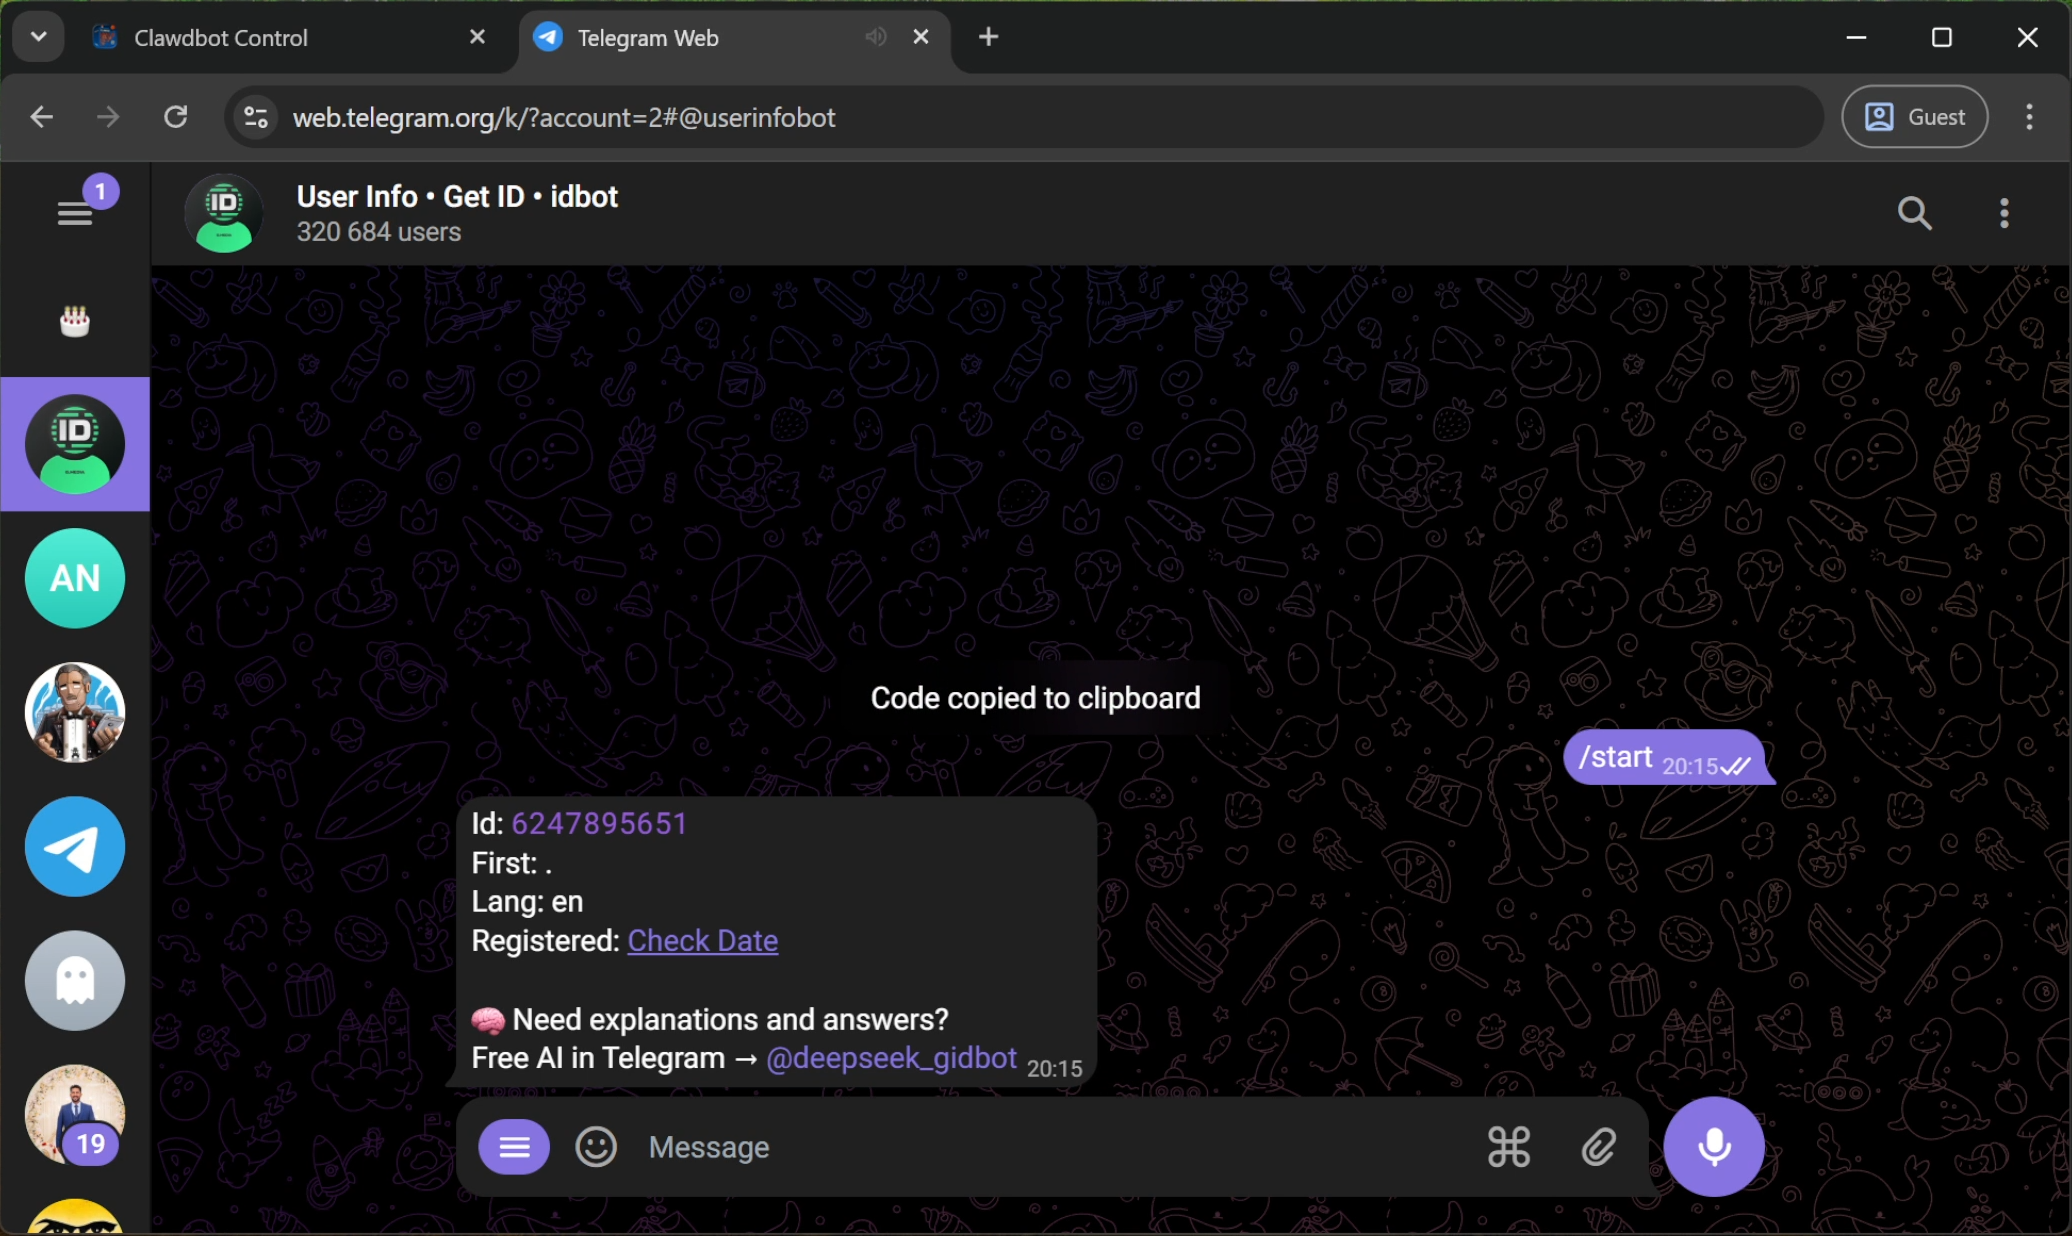
Paste this ID into the terminal. Now, only you can talk to this bot.
Step 6: Final Configuration Steps
- Configure Skill now? -> Yes.
- Node Manager: npm.
- Install Dependencies: Skip (Select using spacebar).
- External APIs (Google, OpenAI, etc.): Select No for all of them. We want this to be 100% local.
- Gateway Service Runtime: Select Node.
Step 7: Configuring the Local Model (Crucial Step)
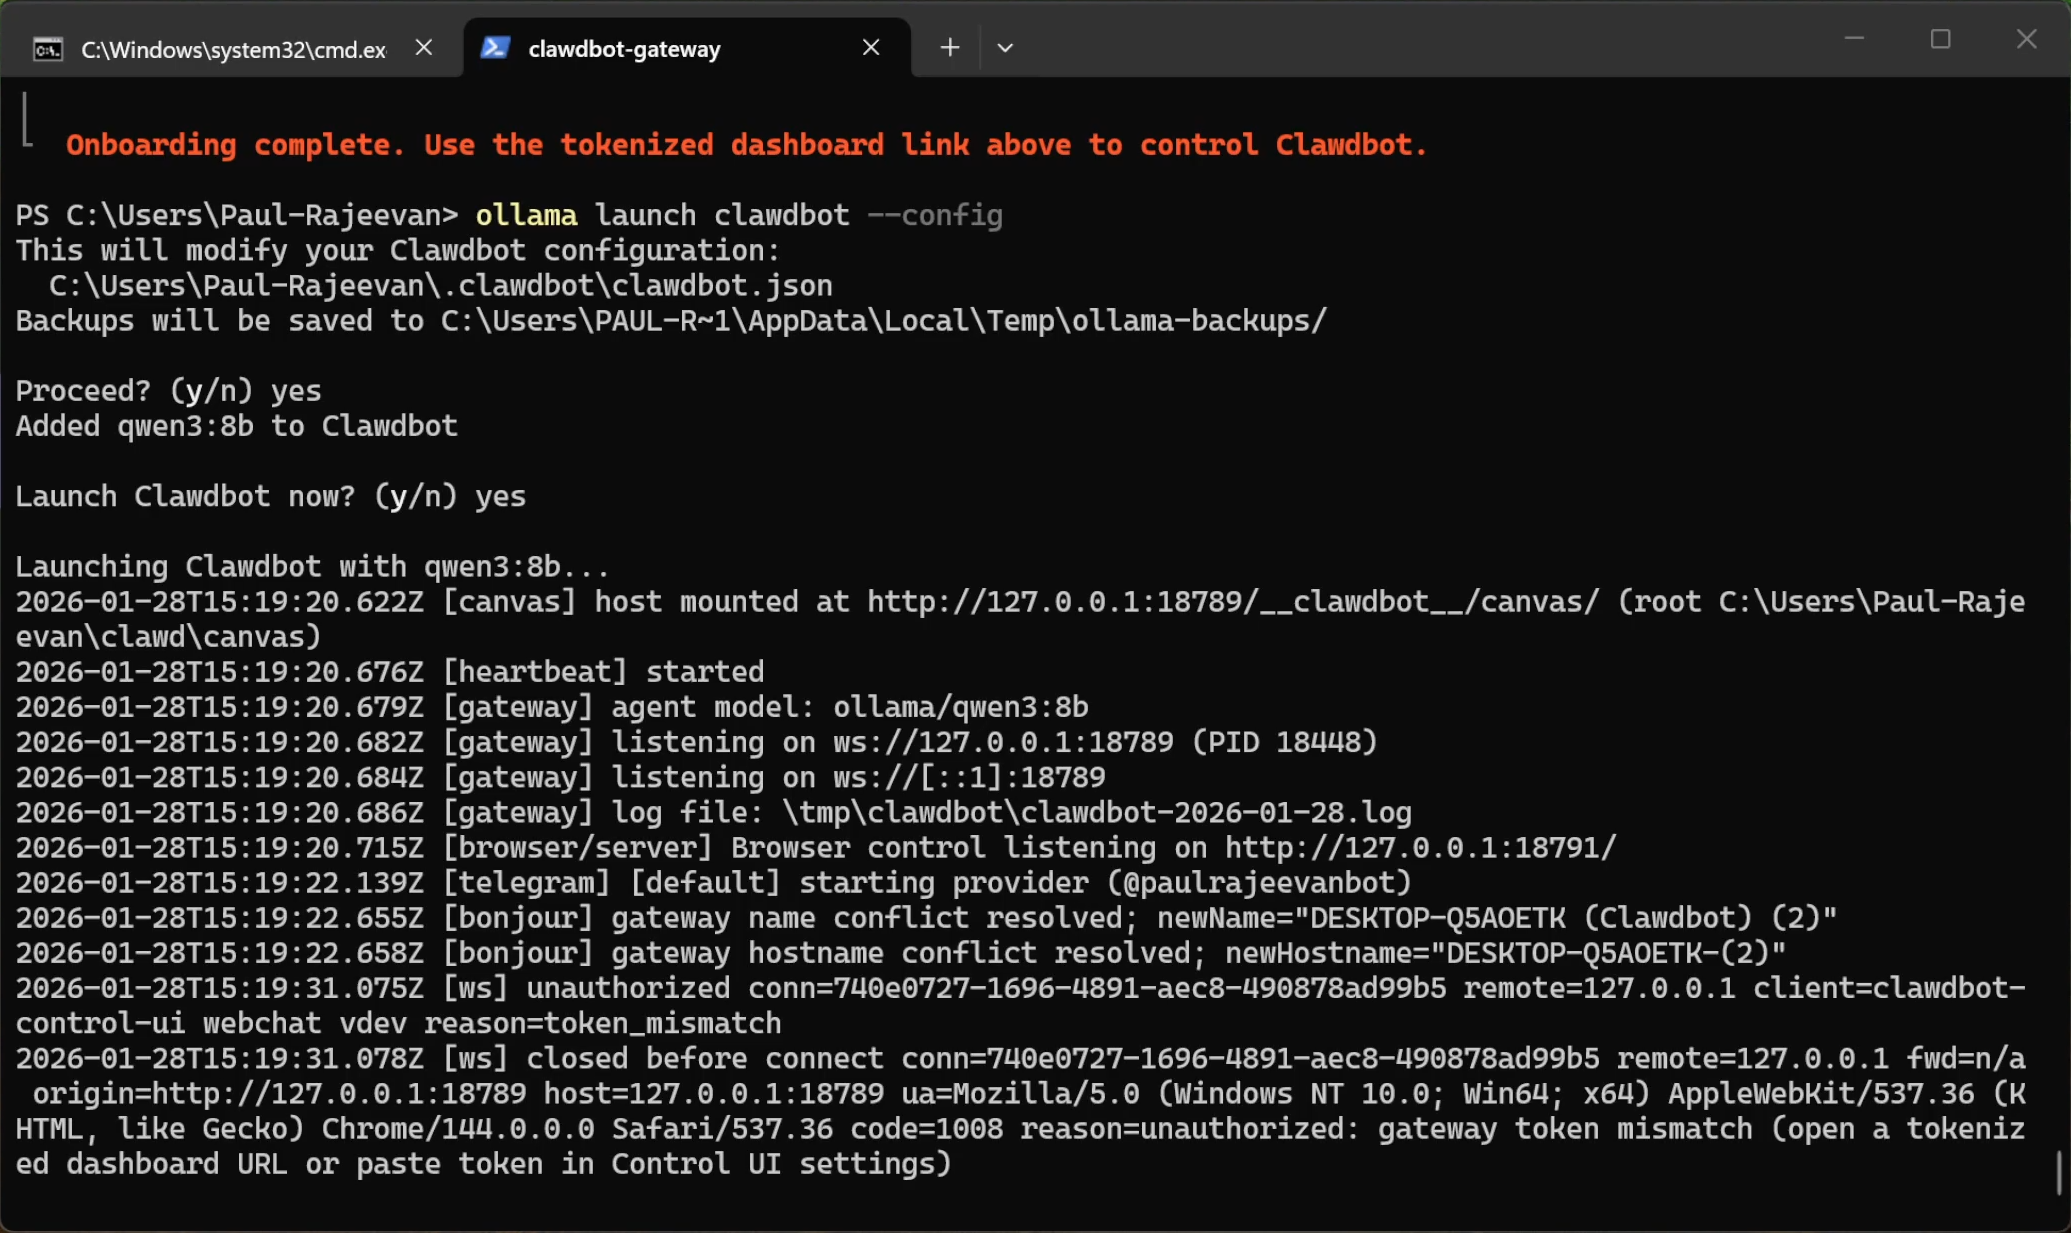
Before we launch, we must force the bot to use our local Qwen model. By default, the system (clawdbot) tries to use "Claude Opus," which is a paid cloud model.
Run this command in your terminal:
ollama launch clawdbot --config
Let it run for a moment to save the configuration, then press Ctrl+C to cancel/stop it.
Why did we do this? This config command binds "clawdbot" to your local Ollama instance. If you skip this, your bot will try to connect to the internet to find Claude Opus and will fail or ask for payment.
Step 8: Launching the Bot
Now, go to the Moltbot site and copy the gateway command, but we need to change one word.
The default command is moltbot gateway..., but we are using the clawdbot instance we just configured.
Run this command:
clawdbot gateway --port 18789 --verbose
- Note: Ensure you type
clawdbotand notmoltbot, otherwise the command will not recognize your local configurations.
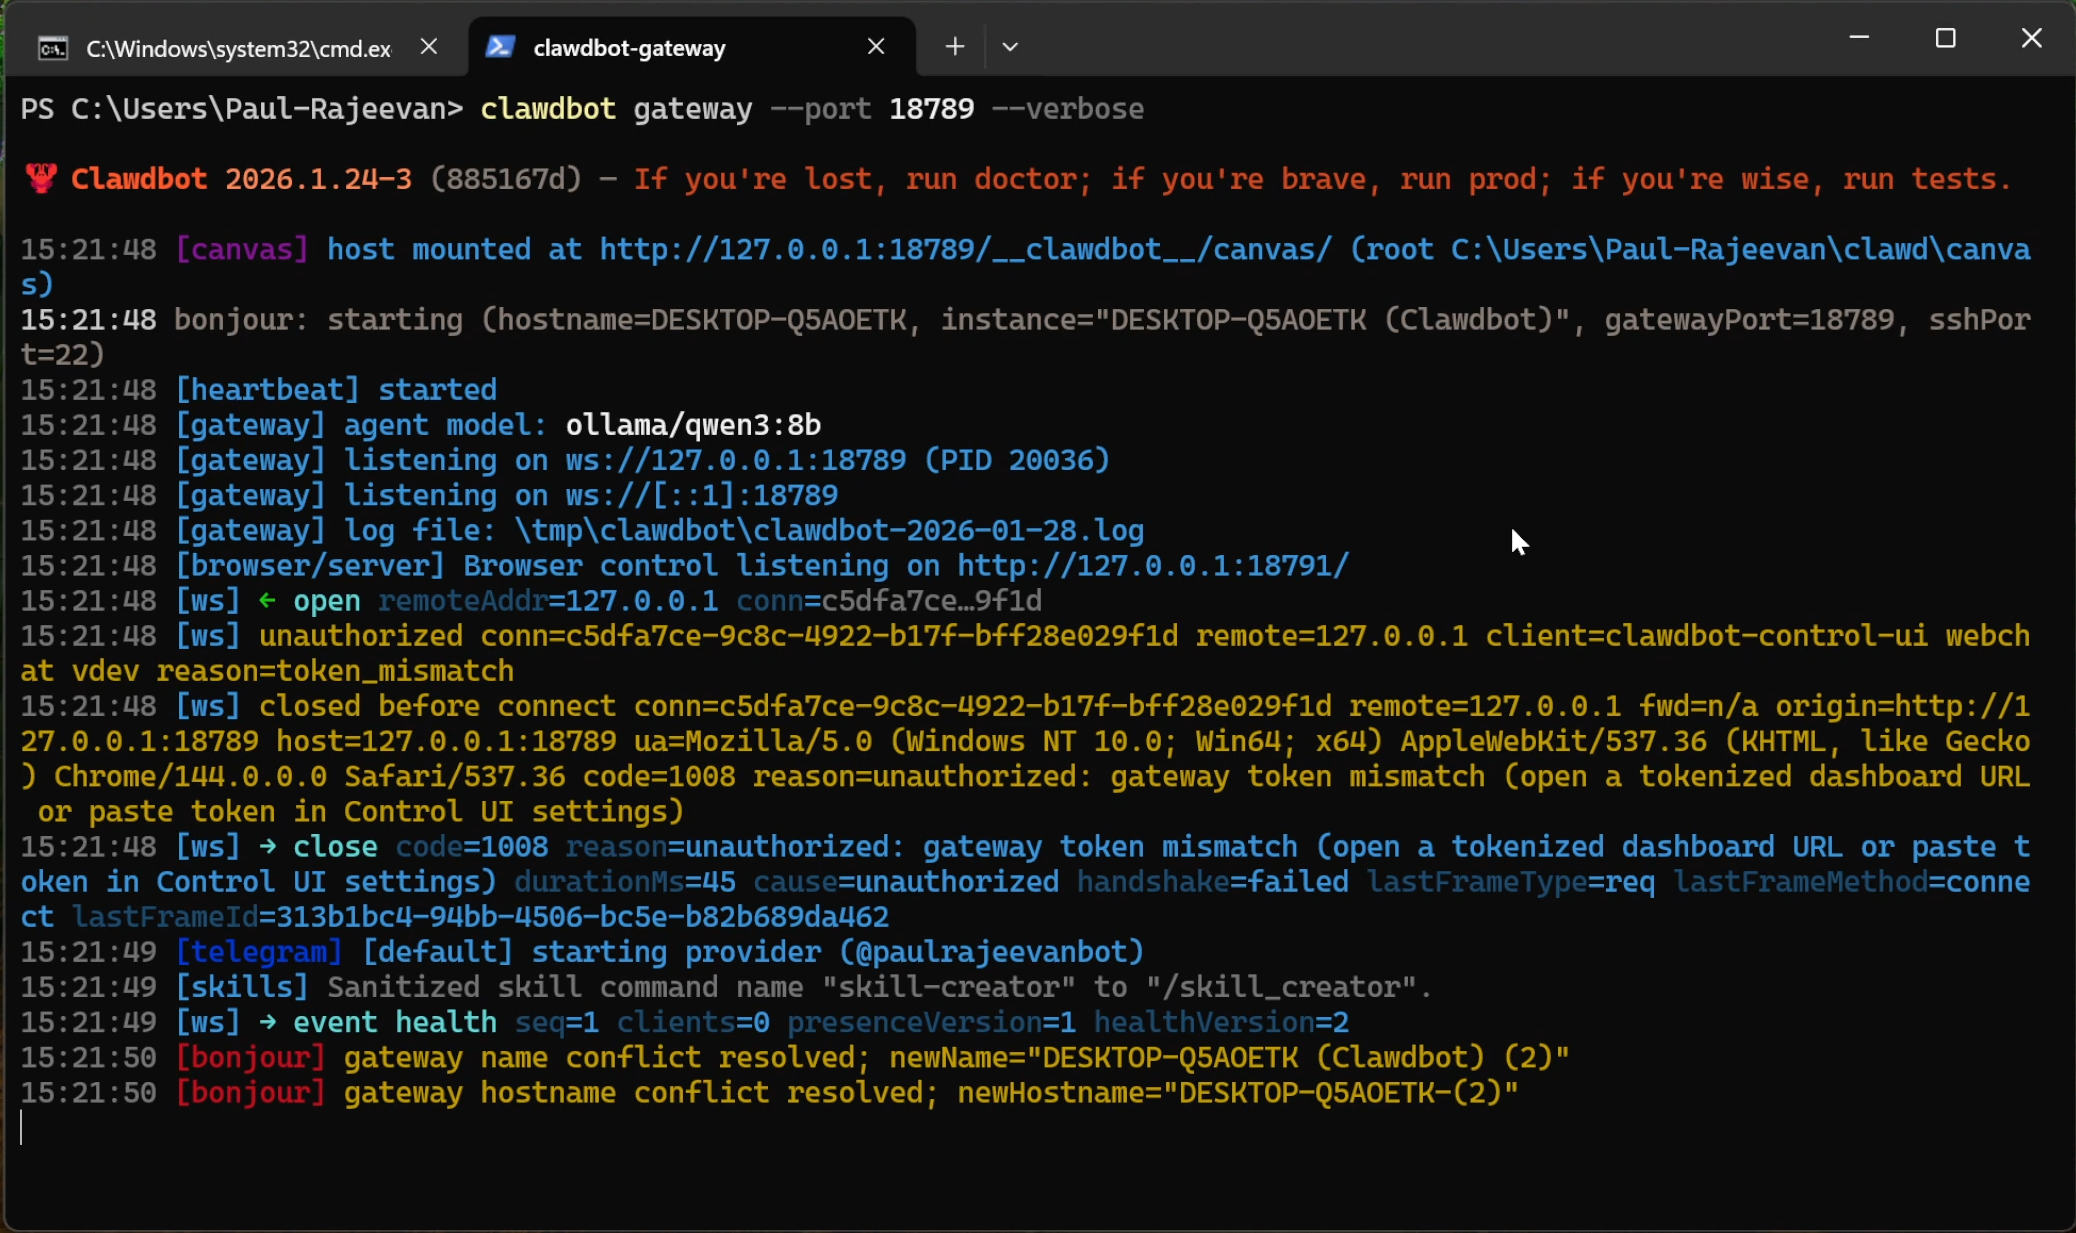
Wait a few seconds for the connection to initialize.
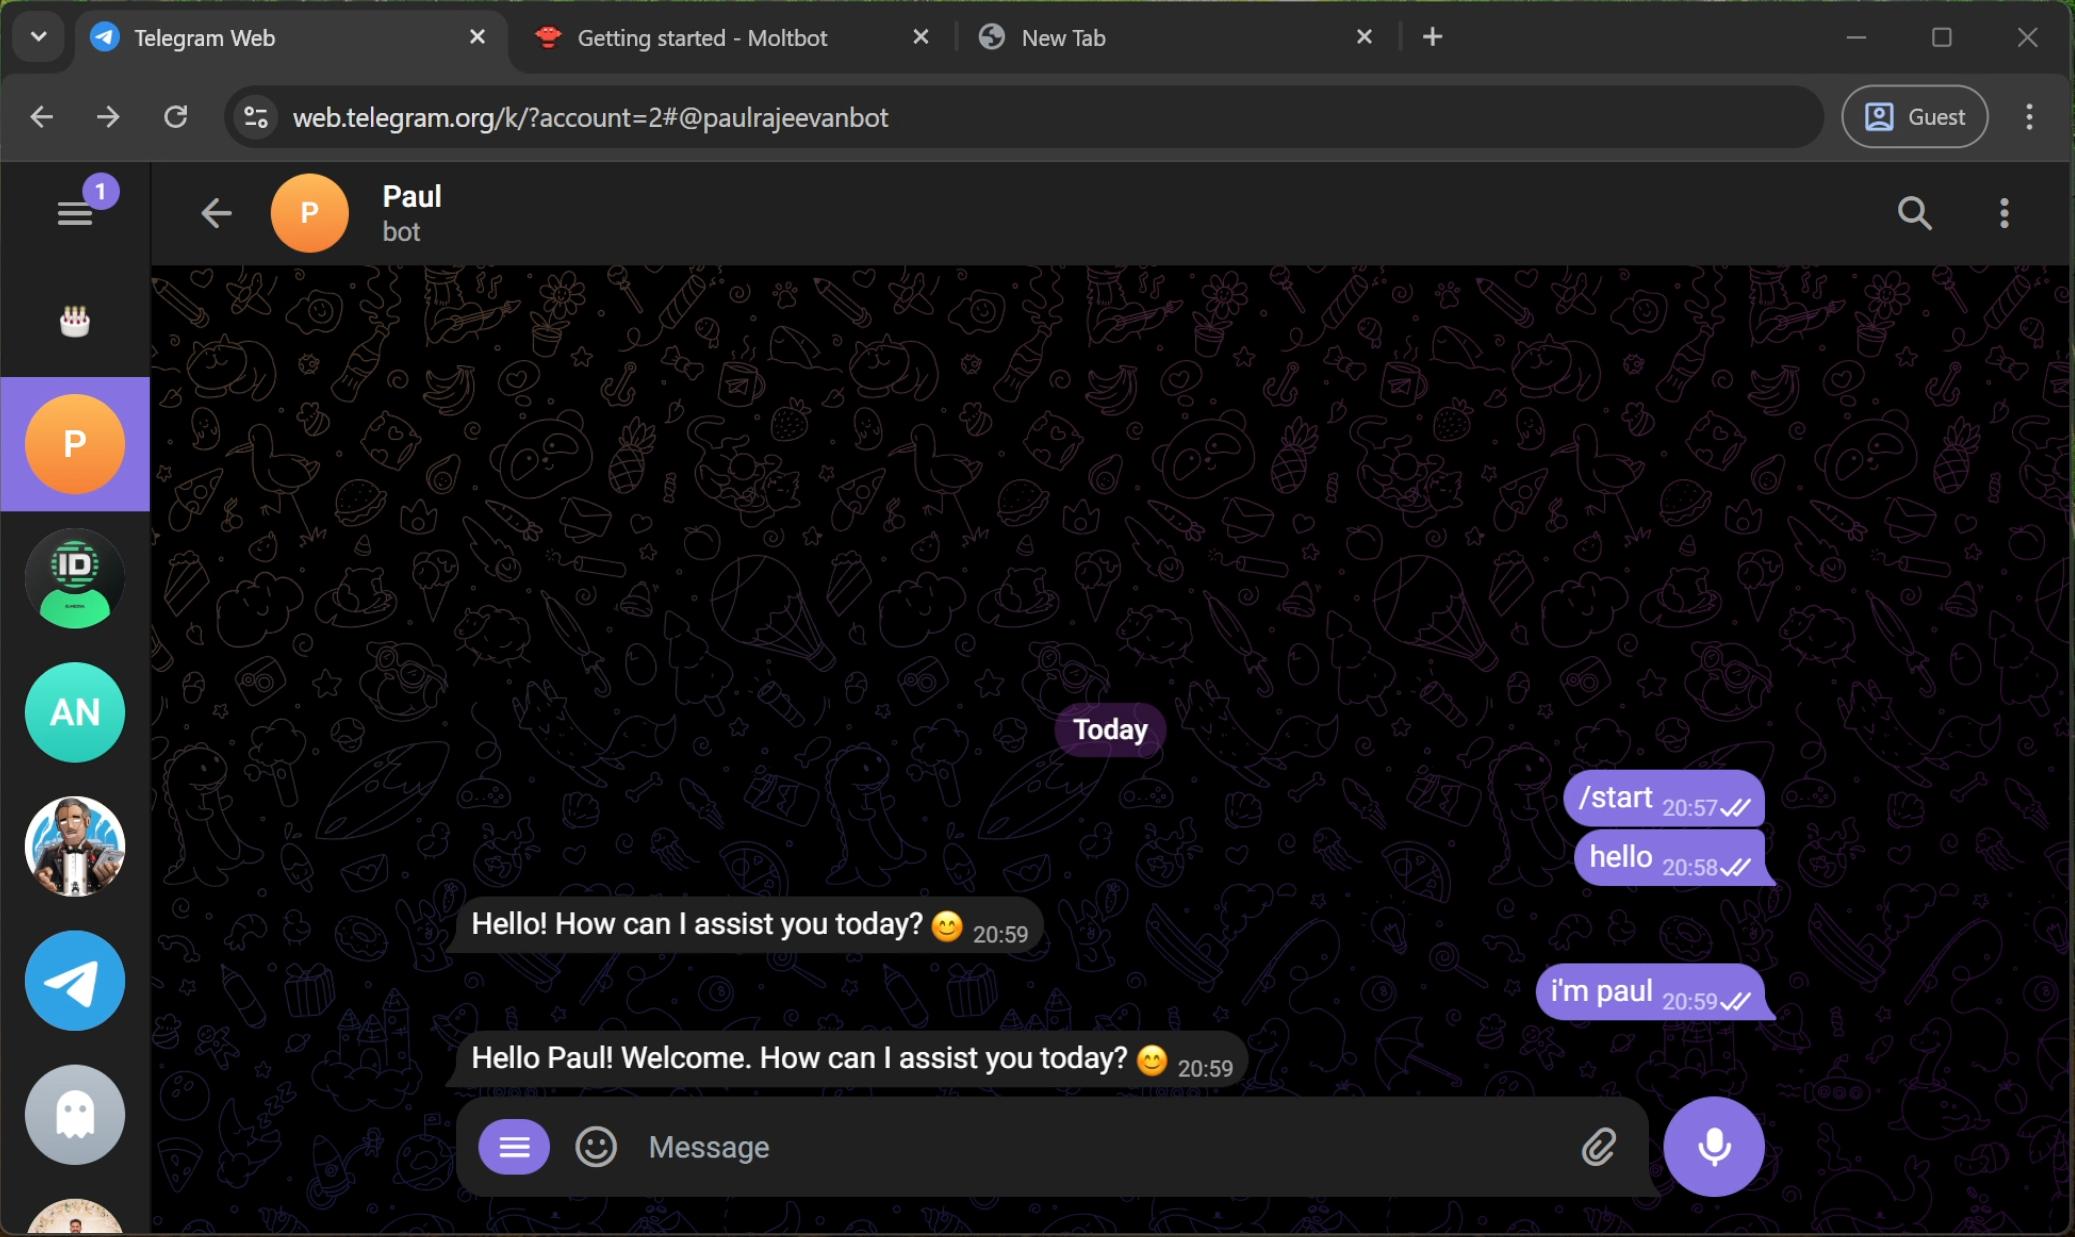
Step 9: Start Chatting!
Open Telegram, go to your new bot, and click Start.
Send a message like "Hello!"
The bot will reply using the Qwen model running locally on your PC. You now have a private, free, and secure AI assistant on Telegram!